Apache is a free, open source and popular HTTP Server that runs on Unix-like operating systems including Linux and also Windows OS. Since its release 20 years ago, it has been the most popular web server powering several sites on the Internet. It is easy to install and configure to host single or multiple websites on a same Linux or Windows server.
In this article, we will explain how to install, configure and manage Apache HTTP web server on a CentOS 7 or RHEL 7 server using command line.
Install Apache Web Server
1. First update the system software packages to the latest version.
2. Next, install Apache HTTP server from the default software repositories using the YUM package manager as follows.
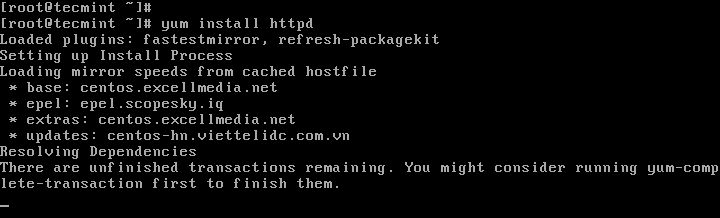
Install Apache on CentOS 7
Manage Apache HTTP Server on CentOS 7
3. Once Apache web server installed, you can start it first time and enable it to start automatically at system boot.
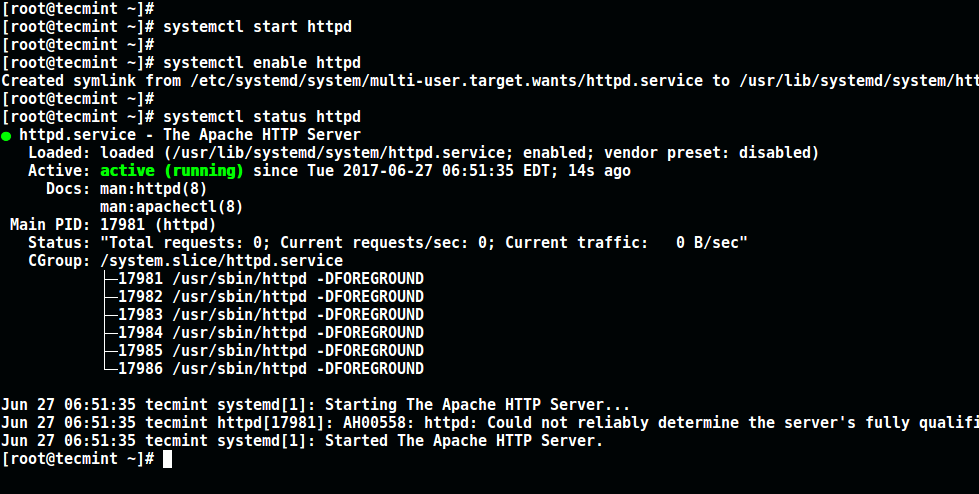
Start and Enable Apache
Configure firewalld to Allow Apache Traffic
4. By default, CentOS 7 built-in firewall is set to block Apache traffic. To allow web traffic on Apache, update the system firewall rules to permit inbound packets on HTTP and HTTPS using the commands below.

Configure firewalld to Allow Apache
Test Apache HTTP Server on CentOS 7
5. Now you can verify Apache server by going to the following URL, a default Apache page will be shown.
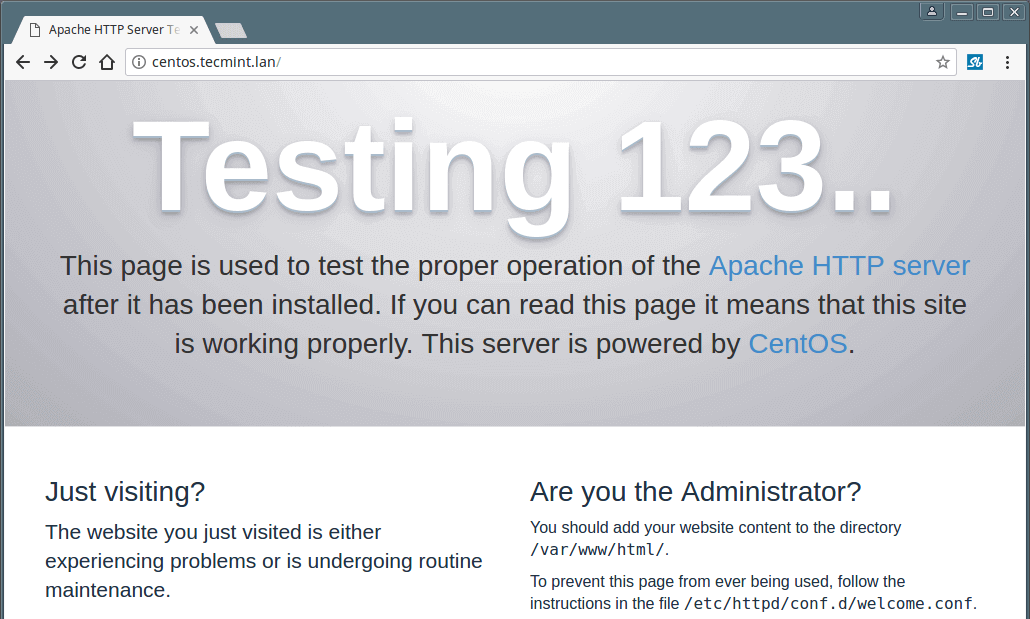
Default Apache Welcome Page
Configure Name-based Virtual Hosts on CentOS 7
This section only useful, if you want to host more than one domain (virtual host) on the same Apache web server. There are many ways to setup a virtual host, but we will explain one of the simplest methods here.
6. First create a
vhost.conf file under /etc/httpd/conf.d/ directory to store multiple virtual host configurations.
Add the following example virtual host directive template for website
mytecmint.com, make sure to change the necessary values for your own domain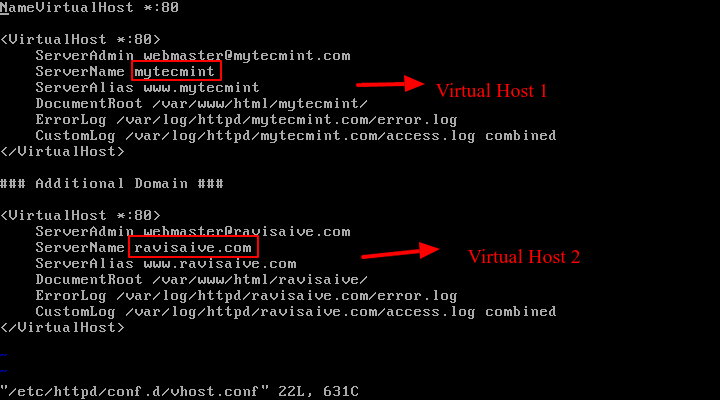
Apache Virtual Host Configurations
Important: You can add as many as domains to vhost.conf file, just copy the
VirtualHost block above and change the values for each domain you add.
7. Now create the directories for
mytecmint.com website as referenced in the VirtualHost block above.
8. Create a dummy index.html page under /var/www/html/mytecmint.com.
9. Finally, restart Apache service for the above changes to take effect.
10. Now you can visit
mytecmint.com to test the index page created above.
Check Virtualhost Website
Apache Important Files and Directoires
- The default server root directory (top level directory containing configuration files): /etc/httpd
- The main Apache configuration file: /etc/httpd/conf/httpd.conf
- Additional configurations can be added in: /etc/httpd/conf.d/
- Apache virtual host configuration file: /etc/httpd/conf.d/vhost.conf
- Configurations for modules: /etc/httpd/conf.modules.d/
- Apache default server document root directory (stores web files): /var/www/html
You may also like to read these following Apache web server related articles.
Sign up here with your email
EmoticonEmoticon